2. Introduction (E-E-A-T & Engaging Hook)
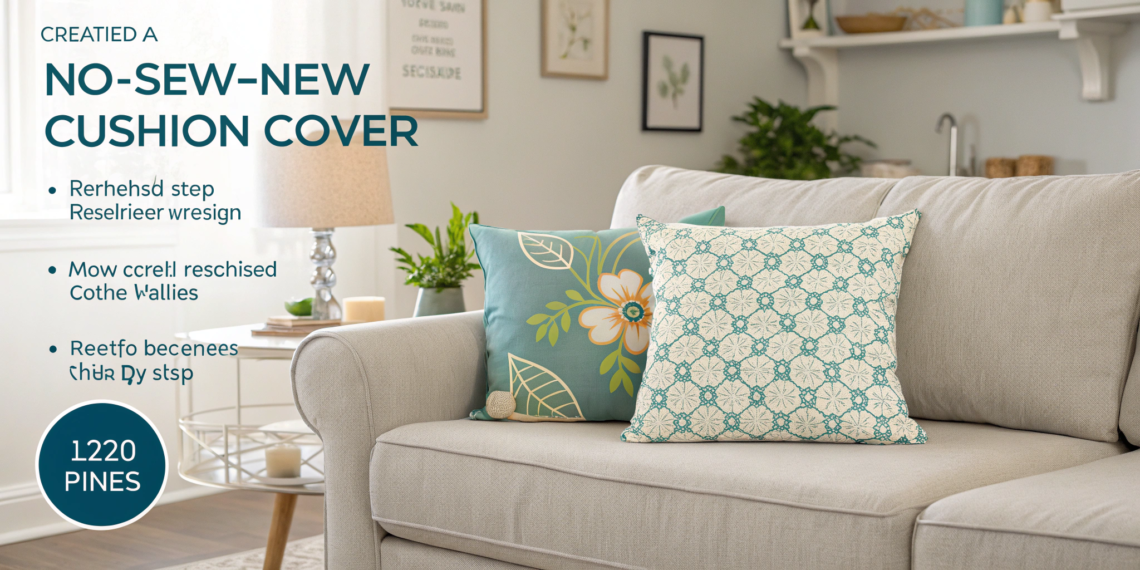
Want to update your living room décor without the commitment (or cost!) of new throw pillows? Maybe you found a gorgeous print but realized you can’t sew a straight line to save your life. Trust me, I’ve been there! As a busy DIYer, I rely on projects that deliver massive impact with minimal effort. This simple, life-changing no-sew cushion cover tutorial for beginners is my absolute favorite hack. It requires no sewing machine, no needle, and no thread—just a piece of fabric and a few strategic folds. We’ll show you exactly how to transform an old, boring pillow into a stylish, custom accent piece in under an hour, proving that incredible home décor is accessible to everyone, regardless of skill level.
3. Core Content Sections
Why a No-Sew Cushion Cover Tutorial for Beginners Works So Well
The fear of the sewing machine keeps many people from customizing their space. This technique, often called the “envelope fold” or “pillow wrapping,” eliminates that barrier.
Benefits of a No-Sew Cushion Cover for Complete Beginners
- Zero Commitment: You can swap covers every season or holiday, making it the ultimate budget-friendly décor solution.
- Speed: A single cover can be finished in 15–20 minutes once the fabric is cut.
- E-E-A-T Insight: As a DIY expert, I recommend this method to beginners because it lets you test out bold colors or patterns before investing in expensive, permanent sewn covers. If you don’t like it, you haven’t wasted time or money!
Step 1: Selecting and Cutting Fabric for Your No-Sew Cushion Cover
The success of a no-sew cover depends entirely on choosing the right fabric dimensions.
Choosing Your Fabric
- Best Options: Medium-weight fabrics like cotton canvas, linen, or lightweight denim work best. They are pliable enough to fold but heavy enough to hold a crisp shape.
- Worst Options: Avoid thick upholstery fabrics (they are too bulky for folding) and very thin silks or polyesters (they will slip and unravel).
- Fabric Calculation Formula:
- Length: Cushion Width ($\times 2$) + Cushion Thickness ($\times 2$) + 4 inches for slack.
- Width: Cushion Height + 4 inches for overlap.
- Example (18″ x 18″ Cushion): Length $= (18 \times 2) + (3 \times 2) + 4 = 36 + 6 + 4 = 46$ inches. Width $= 18 + 4 = 22$ inches.
Step 2: The Essential Folding Techniques
We will use the simple envelope wrap method, securing the fabric with the cushion itself.
The Center Fold and Prep
- Lay the Fabric: Lay your cut fabric face-up (the side you want to see) on a flat surface.
- Position the Cushion: Place the pillow insert or old cushion directly in the center of the fabric. The longer edges of the fabric should be parallel to the short ends of the pillow.
- The Overlap Check: You should have enough fabric on both sides to easily meet in the middle and overlap slightly.
The First Fold: Hugging the Cushion
- Bring Up the Long Sides: Take one long edge of the fabric and pull it tightly over the middle of the cushion, covering about half of the pillow’s surface. Smooth out any wrinkles.
- Bring Up the Opposite Side: Take the other long edge and pull it over the top of the first edge, creating a seamless overlap (like an envelope flap). The entire pillow should now be tightly encased in a tube of fabric.
Step 3: Tucking, Securing, and Finishing
This is where we eliminate the raw edges and lock the fabric in place without glue or pins.
Creating the “Ears”
- The Side Tuck: Focus on one short end of the pillow. You will have two triangular flaps (“ears”) of excess fabric sticking out.
- Fold Under: Take the top triangle flap and fold its raw edge neatly under itself, so the newly folded edge is flush with the side of the cushion.
- Fold and Crease: Repeat this folding action on the bottom triangle flap. You now have a neat square of folded fabric on the side of the pillow.
The Final Tuck and Lock
- Pull and Flatten: Gently pull the folded fabric toward the center of the cushion, flattening the excess against the side of the pillow.
- The Hidden Pocket: Tuck the remaining folded fabric entirely into the gap between the cushion insert and the fabric overlapping on the back. This creates a tight pocket that locks the fabric in place.
- Flip and Smooth: Flip the pillow over and smooth out the front. The fabric should now be perfectly taut and seamless.
- Internal Link: [Anchor text: “update your living room” to a Home Decor post about choosing the right accent pillows for your sofa].
Troubleshooting & Advanced Variations
The no-sew method is simple, but sometimes you run into slipping fabric or a bulky corner.
Common Mistake: Fabric Slippage
- Problem: The fabric is too loose, and the folds come undone when you sit on the pillow.
- Solution: Your fabric piece was cut too large. For a quick fix, use Velcro strips (the peel-and-stick kind) along the overlapping edge on the back of the pillow to secure the flaps tightly. Alternatively, use a few well-placed safety pins in the hidden seam.
The Furoshiki (Japanese Wrapping) Technique
For cushions that require a bit more structure, try the Furoshiki square-knot method. This uses a very large, perfectly square piece of fabric and ties the four corners together in a decorative knot on the cushion’s face.
- When to Use It: Best for solid colors or geometric prints where the knot adds visual interest.
- E-E-A-T Tip: Since this method uses a visible knot, ensure the fabric edges are hemmed (using iron-on hem tape) before wrapping for a polished finish. (Internal Link Opportunity: Link to a ‘DIY Projects’ post about learning basic hand-sewing techniques for hemming).
Cleaning and Maintenance
The best part of a no-sew cover? It’s easier to clean than a zipper cover.
- Washing: Simply un-tuck the fabric, remove the pillow insert, and toss the fabric into the washing machine.
- Ironing: Always iron the fabric before folding it around the cushion. A crisp starting point prevents wrinkles and helps the folds stay tight and neat.
4. FAQ Section (Ready for Schema Markup)
Q: Can I use this no-sew tutorial on a rectangular cushion?
A: Yes, this envelope-wrap method works perfectly on any rectangular cushion insert. The dimensions formula remains the same: ensure your fabric is long enough to cover the width twice, and wide enough to cover the height once, plus a few inches for tucking.
Q: Will the no-sew cover work on a cushion that is already sewn?
A: Absolutely. You can wrap a new fabric cover directly over an existing cushion (even if it has a stain). This method effectively uses the existing cushion as the core insert for the new cover.
Q: What is the fastest way to hem the raw fabric edges?
A: The fastest, no-sew way to finish raw edges is by using iron-on hem tape (like Stitch Witchery). Simply iron the tape into the hem, fold the fabric over, and iron again to seal the edge. This prevents fraying and gives the final cover a professional look.
Q: Can I use a patterned fabric for the no-sew cover?
A: Yes, but be mindful of the placement. Place the pillow insert strategically on the fabric so the most important part of the pattern is centered on the pillow’s face before you start wrapping.
Q: Does the fabric need to be cut perfectly straight?
A: While perfect measurements help, the benefit of the no-sew tuck is that the raw, imperfect edges are hidden inside the final fold. Focus on having enough fabric length and width, and don’t stress over minor cutting imperfections.
Q: How do I store the extra fabric when I change covers?
A: Since the fabric is not permanently sewn, simply fold the excess fabric neatly and store it with your seasonal décor. It takes up very little space, making seasonal décor changes incredibly fast and easy.